Drying and curing cannabis are two of the most crucial steps in ensuring your harvested buds not only stay mold-free but also reach their peak potency, flavor, and aroma. Many beginners overlook the importance of these processes, eager to enjoy their hard-earned harvest too quickly. However, without proper drying and curing, your cannabis could end up tasting harsh, having diminished potency, or losing its overall quality.
Let’s dive deep into the drying and curing processes and understand why they are essential for a premium cannabis experience.
The Importance of Drying and Curing
At first glance, drying and curing may seem like basic steps to simply remove moisture from cannabis. However, these steps serve much more than just a functional purpose. Here’s why:
- Preventing Mold and Bacteria Growth: Freshly harvested cannabis contains a high moisture content, which can make it an ideal environment for mold and bacteria to grow. Proper drying reduces this moisture, helping to keep your buds clean and safe to consume.
- Enhancing Flavor and Potency: Drying and curing also improve the flavor and potency of your cannabis. Fresh buds are often harsh and difficult to light, with unpleasant flavors. By slowly removing moisture through drying and curing, cannabinoids like THC are preserved, and terpenes—the compounds responsible for aroma and flavor—are allowed to fully develop.
- Maximizing Shelf Life: Correctly dried and cured cannabis can last for months without losing its potency or flavor. Without proper curing, cannabis degrades more quickly, which means diminished effects and taste over time.
Now that we understand the importance, let’s walk through the drying and curing process in detail.
Step-by-Step Guide to Drying and Curing Cannabis
1. Harvesting: Timing is Everything
Before you can start drying or curing your cannabis, you need to ensure it’s ready for harvest. Timing is crucial for this step, and there are a few telltale signs that your plant is ready:
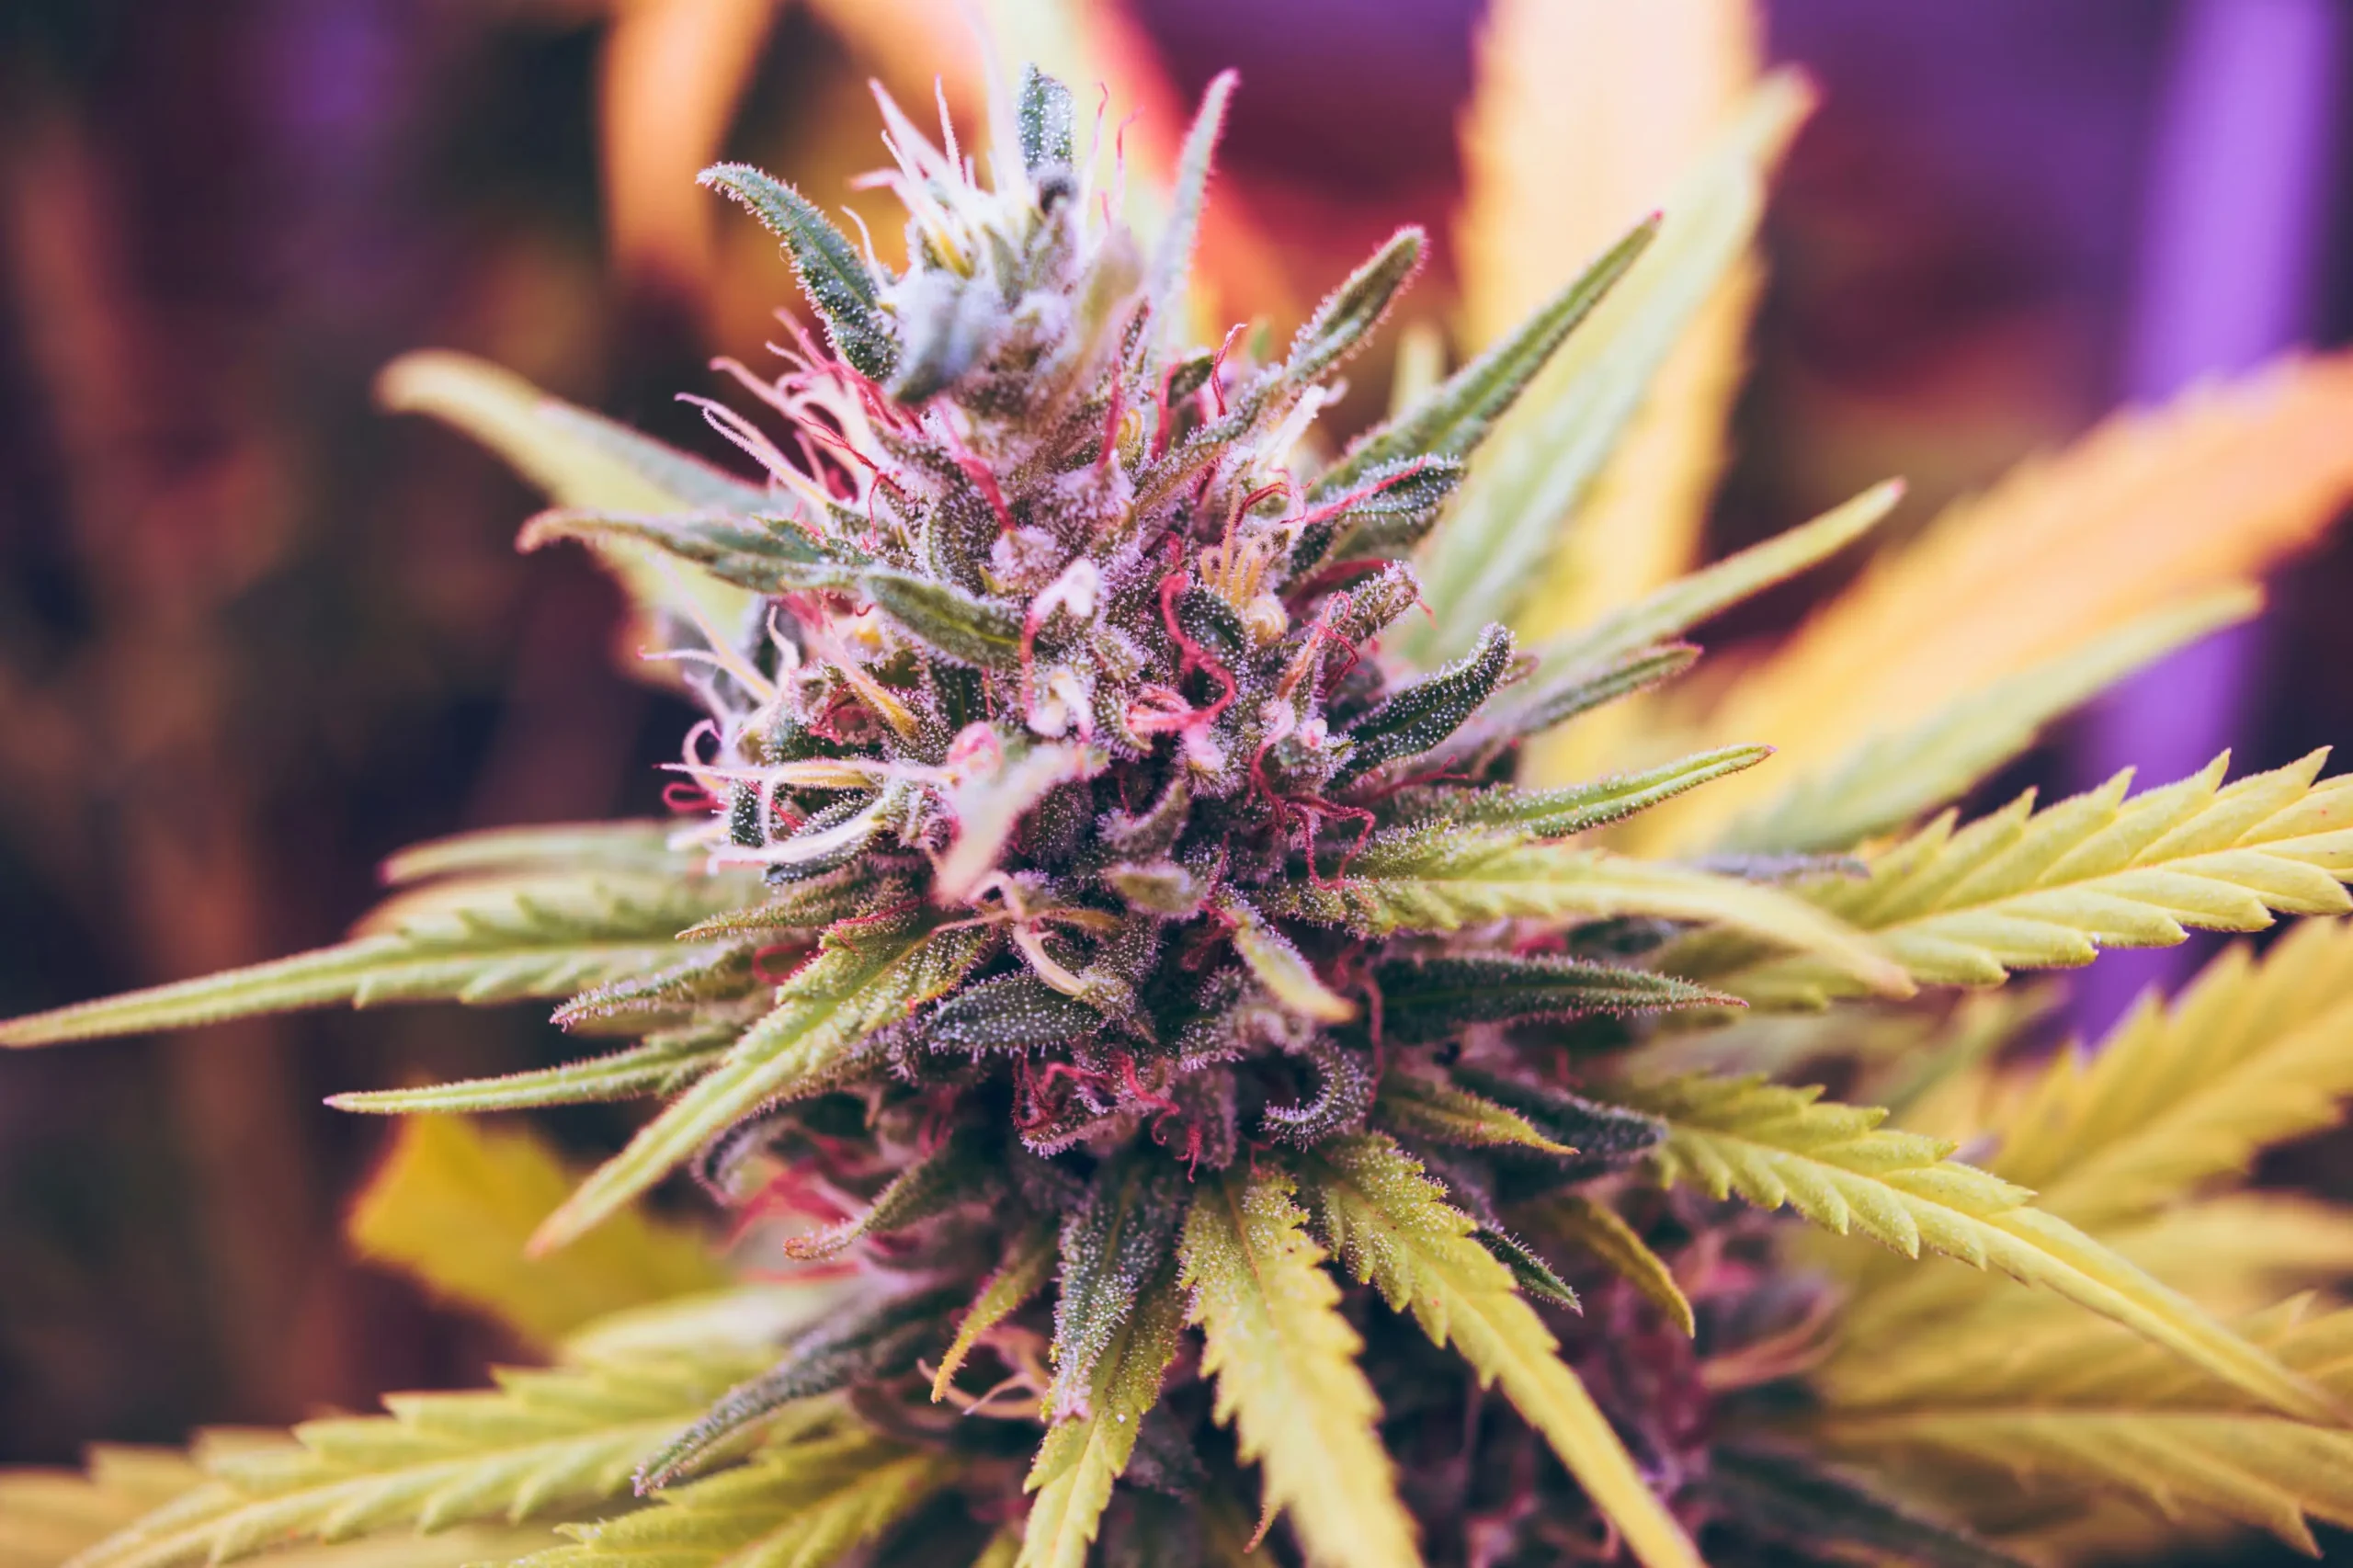
- Trichomes: These tiny, crystal-like structures on the buds are a great indicator. You want to harvest when trichomes turn from clear to a milky white or amber color. Clear trichomes indicate the plant isn’t quite ready, while amber trichomes suggest peak potency.
- Pistils: The hairs on the buds (called pistils) will also change color. When they shift from white to reddish-brown or orange, it’s another sign that your plant is ready.
- Bud Density: Mature buds will feel dense, sticky, and firm to the touch, signaling they are fully developed.
Once your plant shows these signs, it’s time to harvest.
2. Trimming: Wet vs. Dry Trimming
After harvesting, you’ll need to trim your buds. There are two main methods: wet trimming and dry trimming, each with its advantages and challenges.
- Wet Trimming: This method involves trimming the buds immediately after harvest. Many growers prefer wet trimming because the leaves are still straight and easy to snip off before they curl into the buds. Start by removing the large fan leaves and trimming the smaller sugar leaves close to the bud.
- Dry Trimming: Alternatively, you can hang the entire plant or large branches upside down to dry before trimming. The plant’s leaves will curl up, which can make trimming a little more challenging, but many growers believe it helps preserve the terpene content and flavor during the drying process.
3. Drying: Setting Up the Perfect Environment
Drying is perhaps the most delicate part of the process. Improper drying can lead to mold growth, a loss of potency, or harsh flavors. For best results, create an optimal environment with the following conditions:
- Location: Choose a dark, cool, and well-ventilated space for drying. Light can degrade cannabinoids, while proper ventilation helps prevent mold growth.
- Temperature: Keep the temperature between 60-70°F (15-21°C). Warmer temperatures can speed up the drying process too much, leading to a harsh smoke, while cooler temperatures can slow things down, increasing the risk of mold.
- Humidity: Maintain humidity levels between 45-55%. Too high and you risk mold; too low and your buds can dry too quickly and become brittle.
- Air Circulation: Use a fan to circulate air in the room, but don’t point it directly at the buds, as this can dry them out unevenly.
How to Hang and Dry Cannabis:
- Hanging Method: Most growers hang their trimmed branches or whole plants upside down on a line in a tent or closet. This allows for even airflow around the buds.
- Drying Racks: If space is an issue, you can also place buds on a drying rack. Be sure to spread them out evenly and flip them occasionally to avoid flattening on one side.
- Drying Boxes: If you don’t have room for a hanging setup, a cardboard box in a grow tent or drying room can work. Just remember to monitor temperature and humidity levels inside the box with a hygrometer.
Drying time depends on factors like bud size, temperature, and humidity. Typically, it takes 7-12 days for cannabis to dry properly. You’ll know it’s ready when the stems snap cleanly rather than bending.
4. Curing: Enhancing Flavor, Aroma, and Potency
Even after drying, your buds still contain some moisture deep inside. Curing allows this moisture to evaporate slowly while chlorophyll breaks down, creating a smoother and more flavorful smoke.
Curing Process:
- Use Airtight Jars: Place your dried buds in airtight glass jars. Fill them about 3/4 of the way, leaving some room for air circulation.
- Store in a Dark, Cool Place: Keep the jars in a dark place at around 70°F with a humidity level of 60-65%. You can use a hygrometer to monitor humidity levels inside the jars.
- Burping: For the first week, open the jars daily for 10-15 minutes to release excess moisture and allow fresh air to circulate. This process is known as “burping.” After the first week, you can reduce the frequency to every few days for the next 3-4 weeks.
- Monitor for Mold: Keep an eye on your buds during this stage for any signs of mold. If you notice any affected buds, remove them immediately to prevent the spread.
You can start enjoying your cannabis after about two weeks, but the longer you cure (up to 4 weeks or more), the better the flavor, potency, and smoothness of the smoke will be.
5. Storing Your Cannabis for Long-Term Freshness
Once your cannabis is fully dried and cured, it’s ready for long-term storage. Proper storage ensures your buds maintain their potency and flavor for months to come.
- Airtight Containers: You can either keep the buds in the curing jars or transfer them to vacuum-sealed bags for long-term storage. Avoid using plastic containers, as they can affect the flavor.
- Cool, Dark, and Dry: Store your cannabis in a cool, dark place out of direct sunlight and away from heat sources. Excess heat and light can degrade cannabinoids and reduce potency.
- Humidity Packs: To maintain freshness, you can add humidity packs to your storage containers to keep the environment stable.
Final Thoughts: Patience Pays Off
The process of drying and curing cannabis is as much a science as it is an art. While it may take time and patience, the payoff is worth it. Rushing these steps will leave you with harsh, underdeveloped buds, while careful drying and curing will give you smooth, flavorful cannabis with optimal potency. Creating the perfect environment and sticking to the proper process ensures a top-shelf product that can be enjoyed for months.
So, take your time, follow the steps carefully, and savor the fruits of your labor. After all, great cannabis is worth the wait.


